5 Days of Learning My New Raspberry Pi
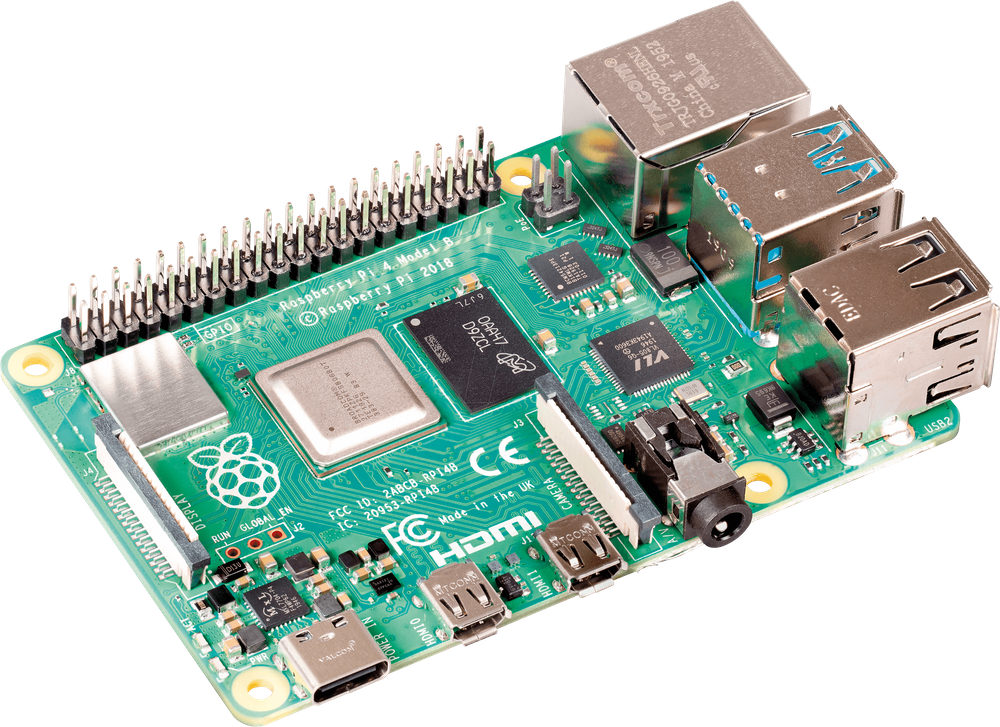
Throughout the month of December, I was compiling a set of specialized components to use with a Raspberry Pi. I managed to collect all five of these parts by New Year’s Eve. And while I did open these parts to examine their size and general functionality with each other, I waited until 2021 for I wanted to study electronics and programming I could do with such a card-sized computer throughout that next year. What I got, in particular, was:[1]
- Canakit Raspberry Pi Starter Kit (2GB Model)
- Canakit GPIO Breakout Bundle
- UCTRONICS 3.5” LCD Touchscreen
- Raspberry Pi 8MP Camera
- Raspberry Pi SenseHat
January 1/3 – Powering On the Raspberry Pi
Midnight came and so did the wires that I used with my new Raspberry Pi. I read each set of instructions carefully, revealing that the UCTRONICS screen needed a driver to function. As a result, I used my room’s television as the screen instead, as I had failed to find where I could connect to my other computer.
After some research and experimentation that went for two days, I realized that every method required that I open up the NOOBS software up to installing Raspbian. I had Raspbian loaded up than just to observe what I needed to do next.
January 4 – Keyboard Time
After realizing that I needed some actual physical tool to input numbers and letters (I had thought there was a spare virtual keyboard included in Raspbian). Since I had some spare money to use, I simply went to Walmart, where I gained a Logitech set of a Bluetooth keyboard and mouse that I could finally use to continue setting up WiFi, screen drivers, and potential software.
January 5 – Screen Issues
Unfortunately, the small 3.5” screen I had worked with did not function as what I predicted as. I had added the drivers via commands, and with using the SHOW command, I have expected the Raspberry Pi to be on the smaller screen in proportion to my television. Strangely, it was zoomed in towards the middle, without any icons or even applications. I reset it, thinking that it had to do with the resolution I had completed. Even then, it remained zoomed in and I’m currently researching what to do, but most tutorials seem to use the past generation of the Raspberry Pi.

Conclusion
Setting up the Raspberry Pi did reveal how DIY computing is not completely as easy as other computing architectures. I truly needed a keyboard just to input the information after installing Raspbian. Also, the Raspberry Pi does show me that it could take time to do the basics of electronics.
References
| ↑1 | Links are affiliate links, but they won’t cost you anything more, they will just help Skyfallen grow. |